 |
| Window opening kitchen side, with Astro-foil in the background |
There is a large internal window between my dining room and kitchen, no doubt to allow extra light into the dining room - it is rather a dark room. But since there is no window glass in the opening, and the kitchen is usually colder than the dining room, the window also allowed a steady gust of cold air to enter the dining room. To stop this, I closed the window up some years ago by attaching a large mirror over the opening on the dining room side.
 |
| Window opening on the dining room side |
On the kitchen side I lined the window with Astro-Foil for further insulation, and then used the window ledge to keep some large jars with flour etc. However, I often thought of adding a few extra shelves, so I could store additional jars - in a tiny kitchen like mine an extra 120cm shelf space is nothing to be sneezed at!
The thing that stopped me was having to haul to the next DIY shop to buy the appropriate supplies and tools. My electric drill had given up the ghost some time ago, and it seemed such a waste to buy another one, given that I only needed it once or twice a year.
However, last night while laying in bed I remembered that I had stored a wooden DVD container in the attic, which I could take apart and use to make shelves of. So this morning I climbed up the attic ladder, and discovered - Glory Be! - not just the DVD box but also two planks I had put by for future use. So I left the DVD box where it was holding up the roof, and set to work on the two planks.
 |
| Plank from attic |
 |
| Tool box and work table in the Mouserleum (lean-to, abode of the late lamented Mouser) |
 |
| I do my sawing in the garden to minimise indoor mess |
 |
| Not quite a clean cut, I had to tidy that one up a bit |
I only have a small hand-held saw, but it was sufficient to saw a piece off of each plank. I measured for a tight fit, so that the walls as well as the screws (see below) would hold the shelves. Now all I had to worry about was fixing the planks into the window opening.
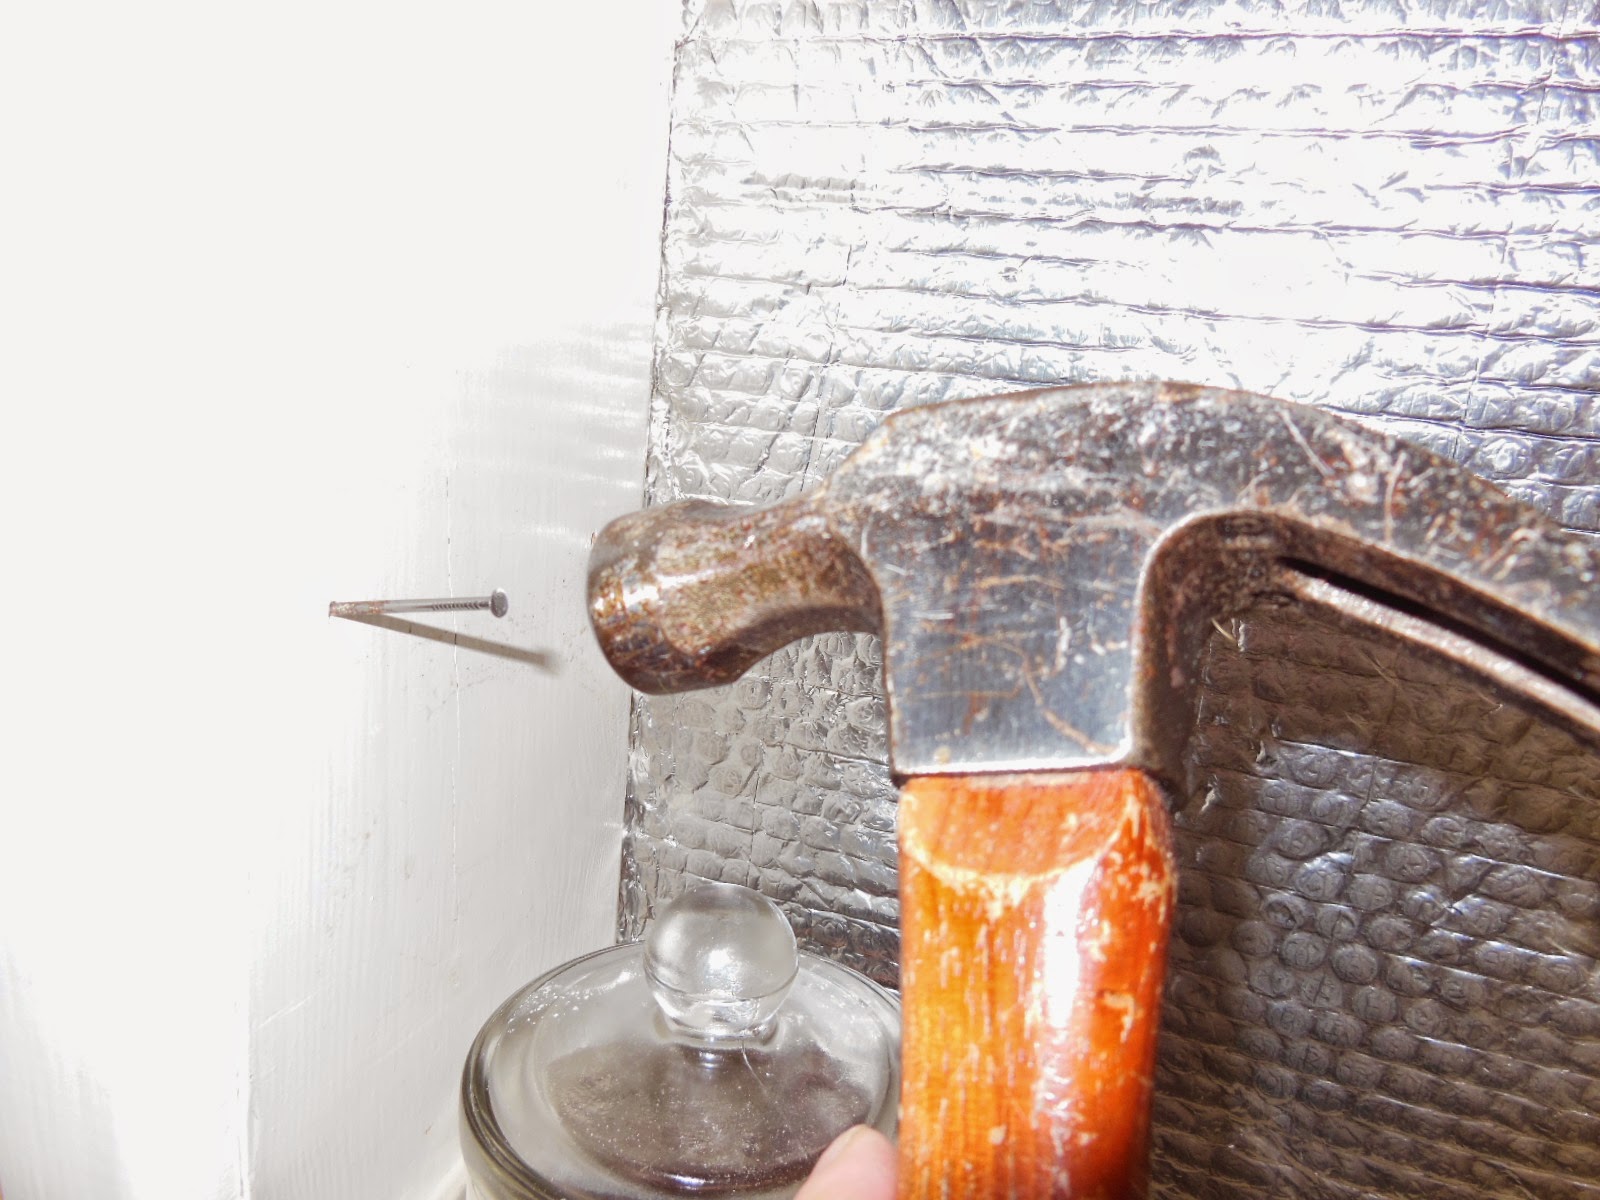 |
| Make small holes with hammer and nail |
 |
| Insert screws into holes |
 |
| Insert planks! |
Since I didn't have a drill, I used my ancient, very very bad and unprofessional studentish method. To wit, first I hammer a thin nail where I want the planks to go, creating a small hole. Then I use a screwdriver to drill a screw into each hole. If you try to screw without first creating a small hole the screw slips away because you don't get a good grip. Then I put the planks onto the screws.
Quite good, don't you think? I am particularly pleased that I can finally display some of my cast iron baking forms!
 |
| Lots of new storage space! |
 |
| Cornbread and muffin molds! |