Friday, 22 September 2017
Thursday, 21 September 2017
The Door Project - Part 5: Painting the door frame
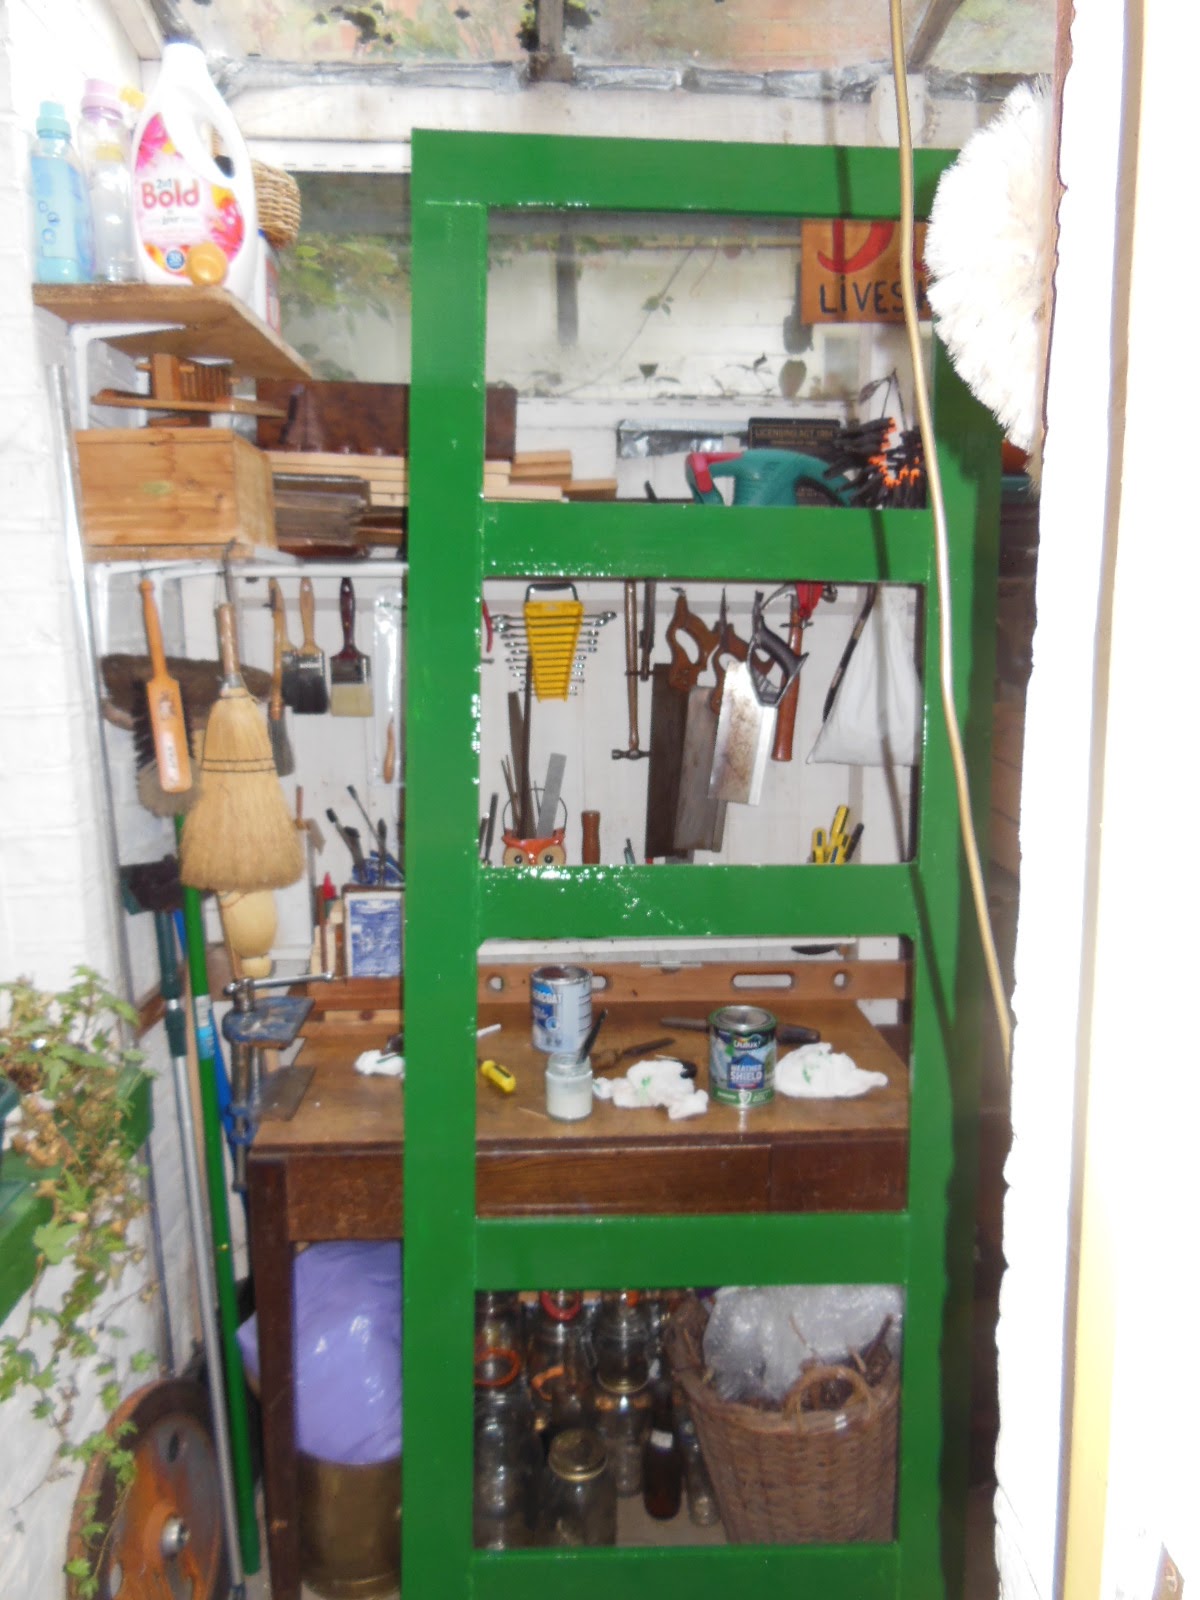
Two layers of primer/undercoat paint already - that wood fairly soaks up paint! Might need another coat or two before I can use the upper coat.
Painting this door is a bit boring; I paint one side, wait an hour or two, paint the other side, wait another hour or two ....and so on and so forth.
Of course I can't do much else, being in my painting duds - what a waste of a few good holidays!
Glass panels haven't arrived yet, either.
What a life!
Labels:
Carpentry
Wednesday, 20 September 2017
The Door Project - Part 4: Finishing and reinforcing the frame
| Upside down door, all glued together |
This morning I finished the gluing together. Unfortunately one drill hole was 1mm too much to one side, so I had to re-drill it, but other than that everything glued together well.
I also had to attend to the 3mm gap between the bottom and almost-bottom planks of the door. I had added the almost-bottom plank as an afterthought, to further strengthen the door, and unfortunately this meant that there was a little gap (let's not get into details - spruce wood planks aren't cut as regular as one might hope!).
Anyway, I glued some bamboo chopsticks into the gap, and am quite pleaded with the result. There were also one or two 1mm gaps elsewhere in the door, which I filled with glue and toothpicks. Then I rubbed some sawdust into the leftover gaps - works quite well. To think I threw away most of my sawdust - I should have kept it, mixed it with glue, and used it on the knot-holes.
| Gap filled with chopsticks |
| Gap filled with toothpicks and sawdust |
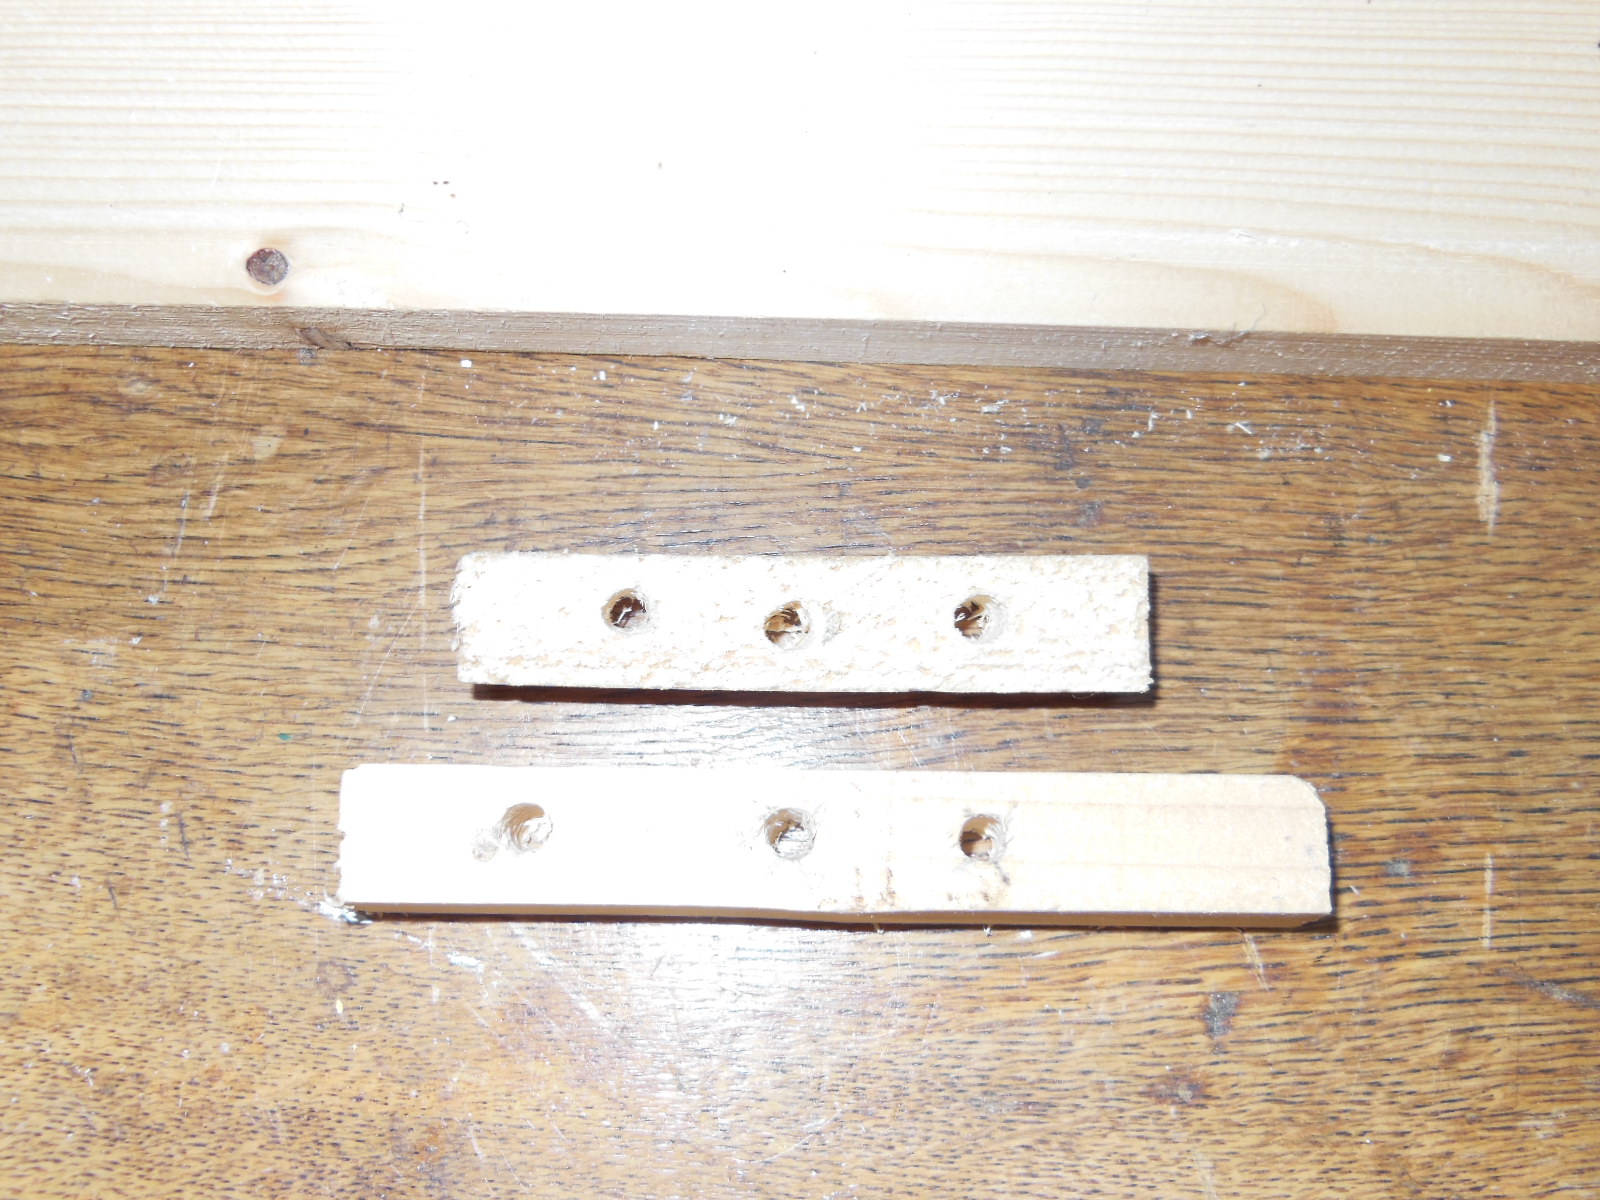
| Re-inforcers |
| Re-inforcers |
| A re-inforced door |
As a result of the aforementioned wonky wood, I noticed that one side of the top plank did not sit evenly on the two side planks, so I sawed through one of the dowels, re-glued the corner, re-inforced it with a metal plate, and clamped it together to straighten it out.
After all the glue dried, I painted on the first layer of primer/undercoat, with the help of some porter - I seem to be turning into some sort of builder, I will probably start to put sugar into my tea again and think of excuses of why everything is taking so long!
Labels:
Carpentry
Tuesday, 19 September 2017
The Door Project - Part 3: Aligning and gluing it all together
| Drilling the top of the plank while standing on a ladder |
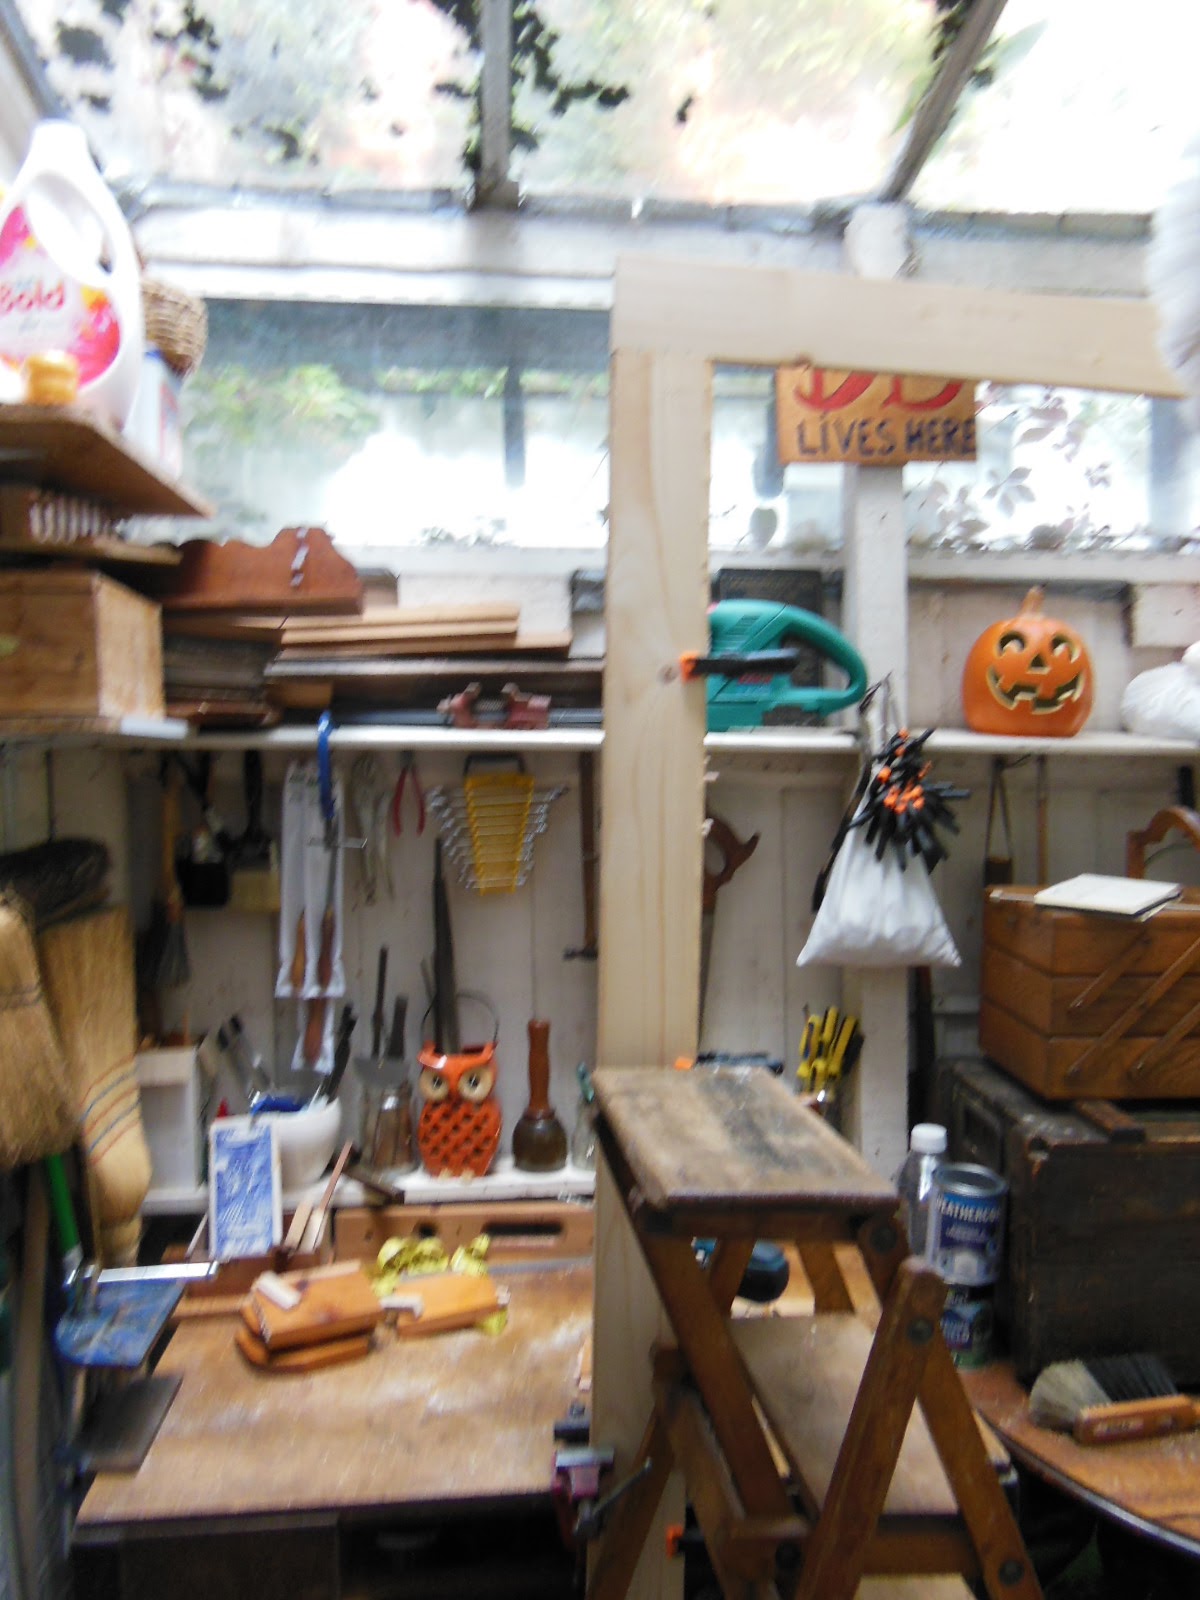
Well, I have finished drilling all the holes, inserted all the dowels, and managed to get all the various pieces to align.
Drilling holes on the top and bottom of the two side planks was difficult - it is hard enough to drill a straight down hole, drilling it side-wise is well nigh impossible! So I climbed on top of my ladder, and drilled the holes down that way. I am sure there is some sort of clever device for drilling side-ways, but hey I got the job done, feeling both stupid and resourceful at the same time.
Then I laid it all out - again - on the dining room floor, to make sure everything fitted together and was at right angles - it was!!!!
Later this afternoon I started to glue the pieces - and the dowels - together. One has to be careful in the order in which one glues them together. For example, if one first glues the outside frame together, one can't fit the inside planks in, because of the dowels.
Applying once again my Philosophy training, I did several thought experiments before I started the gluing. The order is as follows: (1) Top of left side plank and left part of top plank; (2) all the middle planks, left side only; All done. Once this had dried, (3) top of right side plank and right part of top plank; (4) all the middle planks, right sides; (5) finally, both sides of the bottom plank to the bottom part of both side planks. Let's hope this works out; otherwise I shall blame Platon.
Once the gluing is done and has dried, I shall add the strengthener metal plates. Then I'll under-paint and top-paint. Then hopefully the plexi-glass panels will arrive, and I will screw them onto the door frame. This, too, has been thought-experimented; the metal re-inforcers are on one side of the door, the plexi-glass panels on the other, so there is no issue with the screws of the panels getting in the way of the screws of the metal re-inforcers.
Lastly, I shall attach the hinges, and the door-handle. I am leaving this until last, because I need to inspect the door frame to see where the hinges should go, and to do that I need to open the existing door, which I am not going to do until the new door is ready - just in case the old door falls to pieces upon opening!
All that work, and only another four days of holiday left! Yet worse, the whole house is full of wood-chips and sawdust, and will need to be cleaned again ....
| Drilling of the top of the plank was successful, and the side plank fits it neatly! |
| The same from a distance |
| Frame and doweling fit together well |
| First stage of gluing complete - dining room unusable (fordining) |
| This is the glue I used |
| The bottom has an extra side plank to re-inforce it - the bottom plank is not yet attached |
The Joys of Being on Holiday at Home!
| Cooking on toy stove with a Staub tiny pot |
Yesterday was a lazy day. After all that Sunday drilling I decided to rest my wrists and take a day out. Inter alia, I experimented with my toy stove. Could I cook an apple on it? I had done it before, but not inside a receptacle, and the mess had been considerable. So I decided to try to do it inside a small pot.
Well, the smallest saucepan I have looked too big on the tiny stove. So I gave my tiny Staub casserole a go. I bought a few of them in a moment of madness - I have many such moments - and have been trying to use them ever since, with mixed results. Coddling eggs, mainly.
Anyway, last night I used them for baking an apple. The pot was too small for an un-cut apple, so I cut it into pieces, added butter and sugar and cinnamon and raisins, and put it on the stove. Which was heated by a super large tea light.
Four hours later .... Time to go to bed. Huge lump of soot under the stove top, and apple pieces only marginally cooked.

I was trying to replicate the results presumably obtained by using one of these apple bakers, who also claim to cook the apple with only a tea light.
Well I am not convinced. Notice how the photo only shows the uncooked apple?
Reading the description in detail, I notice you are supposed to first microwave the apple.
Like what?!?!?!?
Call that an apple baker?
| Tasty crusty rolls |
| Made in a Wagner Viennese Rolls pan, circa 1930 |
Labels:
Foodities,
Home Sweet Home
Sunday, 17 September 2017
The Door Project - Part 2 of the Tragedy: Doweling
| The little short stick is a dowel |
I laboured all day on the trickiest part of the project: Drilling holes and inserting dowels. The hardest part is getting the two parts you want to join up perfectly matched. The drill is not as accurate as it might be, and sometimes the hole ends up where it shouldn't, and then I have to drill another one.....
| Mark the places where holes should be drilled |
| Mark the parts you need to join together |
| Make sure the wood is steady for drilling! If I take out the drawer under the table I can attach this Imp Clamp |
| Creating a master for the holes |
| To stop the drill from slipping, I sometimes make a preliminary hole with a nail |
| Masters for drilling holes through - not quite right yet! |
| I put it onto the plank I want to drill, and drill through the master |
| Progress is slow |
| Getting those planks to be steady isn't easy! |
| That took a lot of drilling - my hands hurt! |
| Laid out in the dining room - now I need to drill holes into the two side planks |
| One plank joined to one side plank |
This is a good stopping point - tomorrow is another day. Hope my hands recover by then!
| Dutch Baby - I deserve an after work snack after all that drilling!!! |
Labels:
Carpentry
Saturday, 16 September 2017
The Door Project - It Has Begun! Part 1: Planning & Sawing
The conservatory door is a disgrace. I have been patching it up now for almost 20 years, ever since I bought the Little House. My approach to DIY is, the less the better, and never replace anything that can be repaired. But this door really is beyond repair now. I would have attended to this matter a long time ago, were it not for the unusual dimensions of the door - I can't buy one off the peg, and would have to commission it. And my experience with handymen is dire. They re-painted my windows 15 years ago, and they are still stuck together!
'Nuff said. What am I a feminist for, if I need to cry for a man every time something needs doing around the house? Exactly. So I decided to build that door myself. I mean, how hard could it be?
Plenty hard, alas. Building a solid wood door is not a problem, but I wanted one that didn't cut out the light, so I needed one that is basically a frame with glass panels added. The frame needs to be sturdy, of course.
First I thought of using dovetailing to join the separate plank-pieces into a frame, but the wood I have access to is cheap deal (spruce) - and that splinters easily. Dovetailing was out. Then I thought of tongue and groove, but again was defeated by the quality of the wood.
The thought of simply screwing and gluing the wood together, and to strengthen it with metal mending plates, occurred to me, but was immediately dismissed as unworthy of the granddaughter of a master carpenter.
Finally, after a number of sleepless nights of thought-experimenting the various options, I caved in and looked at my Practical Woodworker by Bernard E Jones. It first came out in 1914, my version is about 1920 - I don't like modern manuals, they require a lot of fancy equipment and I don't do woodwork often enough to justify buying it all - I have enough tools as is.
Anyway, the Practical Woodworker suggested using dowels, which makes a lot of sense to me. I once repaired an antique broken gate-leg table by using a piece of pencil as a dowel, so I know all about them.
I spent the morning going to the DIY market, yet again, and stocked up on dowels, short screws, enhancers/strengtheners, and paints - because the door has to be painted, once done.
Then I measured the door frame, and made a proper drawing. Then I ordered four perspex panels online - hope they'll arrive while I am still on vacation! Then I sawed my planks.
Sawing can be tricky! For example, ideally the sawing groove should be a little higher than the two sides of the plank you are sawing. If the two sides are higher than your sawing groove, your saw is wedged between them and you can't move it to and fro any more. I will illustrate below with a few photos.
Additionally, if you have to operate in a tiny space, like me, any sort of DIY can cause difficulties!
You have got to be flexible and improvise - there is no point in aiming for perfection if you have no training, only basic tools, sub-standard raw material, and a house that was never all that perfect to begin with, and certainly has not improved with time.
If you are a dab hand at DIY you will probably find my efforts rather amusing, but I don't care - most people I know can do even less than me, DIY-wise, and might learn from my experiences.
Next up I shall have to drill the holes for the dowels - but it is now getting dark outside, and tomorrow is another day ....
| First, tidy the workshop and make some space! |
| Then, measure and calculate and make some cool drawings! |
| The planks from which I shall construct the two sides of the door are rather long - how on earth can I saw these? |
| Always mark your wood before you saw it! |
| If I leave the kitchen door open I can stick the plank into the kitchen while I saw it |
| The usual make-shift arrangements |
| Clamped into the jaws of my eh, clamp |
| Notice how the sides are a little lower than the sawing groove? |
| This happens if you saw straight down, without first sawing a little groove on the other side of the plank - needs filing |
| All smooth now |
| Now on to the shorter planks |
| You notice the little groove on the bottom of the plank, opposite the main sawing groove? |
| An old cast iron kettle on one side of the plank ensures that that side is lower than the sawing groove |
| You can see it more clearly in this photo |
| All done! |
Labels:
Carpentry,
Home Sweet Home
Subscribe to:
Posts (Atom)